
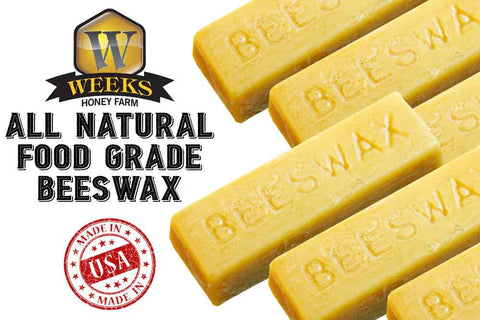

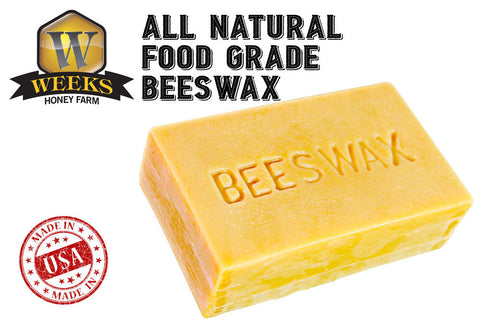
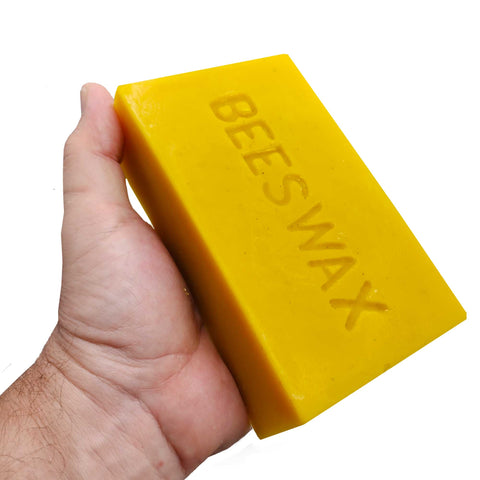
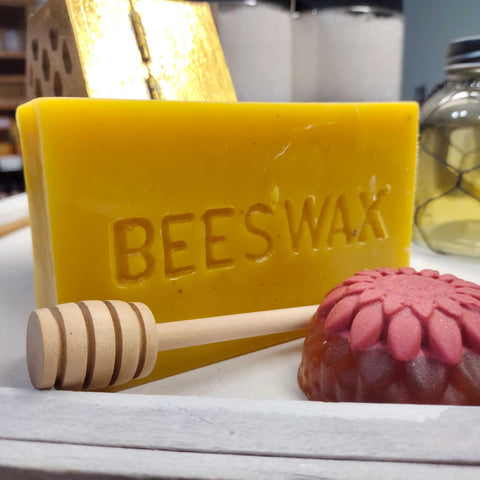
Weeks All-Natural Food Grade Beeswax
I like that the bar I got was fresh and easy to melt. I got great results with my Baking with it. I shared a picture of the French Canelés that I made plus your website to my baking group yesterday. Hope you get a deluge of orders. Thanks! -Christine L.

Weeks Honey Farm American Beeswax is 100% Natural and Locally Sourced Straight From The Hive. SCROLL DOWN FOR RECIPES FOR USE
Properties
-
Melting point: Beeswax has a higher melting point than paraffin, making it more heat resistant.
-
Burn time: Beeswax candles burn longer than paraffin candles.
-
Soot production: Paraffin candles produce more soot than beeswax candles, which can contain harmful chemicals.
-
Sustainability: Beeswax is a renewable resource, while paraffin is not.
Popular Applications
-
Candles: Beeswax candles are more durable and burn longer than paraffin candles.
- Cosmetics and pharmaceuticals: Beeswax's heat resistance makes it suitable for these applications.
- Thermal energy storage: Beeswax has good thermal energy storage capacity, making it a potential replacement for paraffin wax in this application.
- Coating Chocolates: Great chefs understand the use of beeswax for glazing sweets in a healthier, natural way.
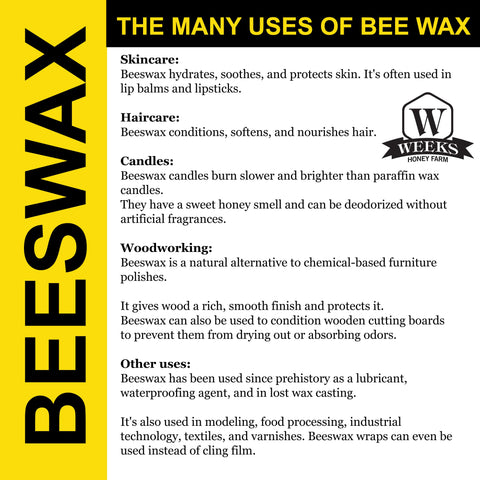
The possibilities for this product are virtually limitless. Just a few uses include: Balms and Salves, Soap and Candles, Furniture Polish, Leather Shoe Polish, Repair Cuts and Scratches, Sealant and More...
- Balms and Salves
- Wood/Furniture polish and sealant
- Leather shoe polish
- Beeswax Soap
- Beeswax skin barrier for cuts and scratches
- Fire starter
- Ingesting beeswax can improve personal health in many areas
- Beeswax for food protection
- Lubricants
====================
USE ON CUTTING BOARDS
To use beeswax on a cutting board, clean the board thoroughly, then apply a thin layer of beeswax with a soft cloth, rubbing it into the wood grain; let it sit for a bit, then buff off any excess with a clean cloth to create a protective seal; repeat as needed to maintain the finish.
Key points to remember:
-
Clean first: Always wash your cutting board with warm water and mild dish soap before applying beeswax.
-
Apply a thin layer: Use a small amount of beeswax and spread it evenly across the surface.
-
Rub it in: Work the beeswax into the wood grain using a soft cloth.
-
Buff off excess: Once the wax is absorbed, use a clean cloth to buff the board to a shine.
Important considerations:
-
Mineral oil combination: For added protection, many people prefer to mix beeswax with mineral oil to create a more penetrating finish.
-
Regular maintenance: Reapply beeswax to your cutting board periodically, especially when it starts to look dry or worn.
- Food-safe beeswax: Ensure you are using food-grade beeswax for your cutting board.
====================
REUSABLE BEESWAX WRAPS
Making your own reusable beeswax wraps for the kitchen is a fun, eco-friendly DIY project. Here's a step-by-step guide to help you create your own:
Materials Needed:
- Cotton fabric (old t-shirts, fabric scraps, or pre-cut fabric pieces)
- Weeks Beeswax
- Pine resin (optional, but helps with the stickiness and durability of the wraps)
- Jojoba oil (optional, helps soften the wax)
- A baking sheet or parchment paper
- An iron or oven for melting the wax
- Paintbrush or a foam brush (if applying the wax manually)
- Scissors for cutting fabric into desired sizes
Instructions:
1. Prepare the Fabric
- Cut your cotton fabric into the sizes you want for your wraps. Standard sizes are about 8x8 inches for smaller wraps and 12x12 inches for larger wraps, but you can customize based on your needs.
2. Preheat the Oven (if using)
- Preheat your oven to about 200°F (93°C). Line a baking sheet with parchment paper to protect the surface and to make cleanup easier.
3. Prepare the Wax Mixture
- In a double boiler (or a heatproof bowl over a pot of simmering water), melt the beeswax pellets. Add about 1 tablespoon of pine resin and 1 teaspoon of jojoba oil for every 1/4 cup of beeswax. The pine resin helps the wrap stick better, while the jojoba oil adds softness.
4. Coat the Fabric
-
Using an iron: Place the fabric between two pieces of parchment paper. Sprinkle the melted beeswax mixture over the fabric and then iron over it to melt the wax and spread it evenly across the fabric. Keep the iron on a low setting and ensure the wax melts evenly.
-
Using the oven: Place the fabric on the parchment paper on the baking sheet, then drizzle the melted beeswax mixture over the fabric. Put it in the oven for about 5-10 minutes until the wax has melted and soaked into the fabric. You can use a paintbrush to spread the wax evenly over the fabric if needed.
5. Set and Cool the Wraps
- Once the fabric is evenly coated with the wax, remove it from the heat source. Allow the beeswax wraps to cool for a few minutes, then hang or lay them flat on a surface to cool completely.
6. Trim the Edges (Optional)
- If needed, you can trim any excess fabric or uneven edges once the wraps are cool.
Tips:
- Storage: Store your wraps in a cool, dry place. Avoid leaving them in direct sunlight or heat, as this can cause the beeswax to melt.
- Cleaning: When the wraps get dirty, simply wash them in cold water with a mild soap. Avoid using hot water, as it could melt the wax.
- Rewaxing: After a few months of use, you may need to rewax your wraps. Just repeat the process above to reapply the beeswax.
These wraps can be used for wrapping food, covering bowls, or even as a sandwich wrapper. They're an excellent, sustainable alternative to plastic wrap!
====================
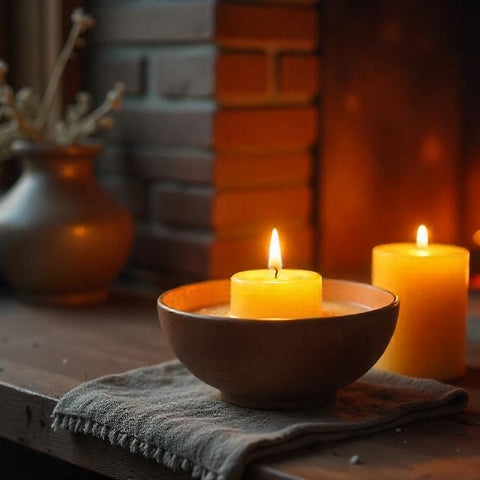
BEESWAX CANDLES
Making beeswax candles at home is a fun and easy DIY project. Beeswax candles burn cleanly, have a pleasant natural scent, and are eco-friendly. Here's a step-by-step guide to making your own beeswax candles:
Materials Needed:
- Week Beeswax
- Candle wick – Cotton wicks are a common choice; make sure the wick is appropriate for the size of your container or mold
- A container or mold – Glass jars, metal tins, or silicone molds work well
- Double boiler – For melting the beeswax (or a heatproof bowl over a pot of simmering water)
- Thermometer – To monitor the temperature of the beeswax
- Stirring utensil – A spoon or spatula for mixing
- Scissors – To trim the wick
- Optional: Fragrance oils – If you want to add a scent (though beeswax already has a pleasant natural honey scent)
- Optional: Dye – If you want to add color to your candles
Instructions:
1. Prepare Your Container or Mold
- Choose a heatproof container for your candle (e.g., glass jar, metal tin, or silicone mold). Make sure it’s clean and dry.
- Attach the wick to the bottom of the container. You can do this by dipping the wick's metal base in a small amount of melted beeswax or using a wick sticker to secure it to the center of the bottom of your container.
2. Melt the Beeswax
- Set up a double boiler by filling a pot with a few inches of water and placing a heatproof bowl or smaller pot on top (ensure the water doesn’t touch the bowl).
- Place your beeswax (either pellets or chunks) into the top of the double boiler and slowly heat it. Stir occasionally until the beeswax is fully melted.
- Use a thermometer to monitor the temperature of the beeswax. Aim for a temperature of about 160°F (71°C). This ensures it’s melted and ready for pouring without overheating.
3. Optional: Add Fragrance or Dye
- If you’d like to add fragrance, now is the time. Use essential oils or fragrance oils that are safe for candles. A good rule of thumb is about 1 ounce of fragrance per pound of wax. Stir gently to mix.
- If you want to color your candle, you can add a small amount of candle dye when the beeswax is melted, though this is optional since beeswax has a beautiful natural golden hue.
4. Pour the Wax Into Your Mold
- Once the beeswax is fully melted, carefully pour the wax into your prepared container or mold. Pour slowly to avoid creating air bubbles.
- Leave about half an inch from the top of the container to allow room for the wax to solidify and avoid overflow.
5. Secure the Wick
- As you pour the wax, make sure the wick stays centered. You can use a wick holder (a special tool or a simple pencil) to secure the wick by resting it across the top of the container.
6. Allow the Wax to Cool
- Let the candle cool and harden for several hours at room temperature. Beeswax usually sets fairly quickly but allow at least 4-6 hours to ensure it’s fully solidified.
7. Trim the Wick
- Once the candle has cooled completely, trim the wick to about 1/4 inch above the surface of the candle. This ensures a clean burn.
8. Let It Cure
- For optimal burn quality, let your beeswax candle sit for about 24-48 hours before lighting it. This allows the wax to "cure," which helps improve the burn and scent throw.
Tips:
- Wick Size: The size of your wick will depend on the size of your container or mold. If your wick is too small, the candle may not burn evenly; too large, and the candle may burn too quickly.
- Avoid Overheating: Don’t overheat the beeswax above 185°F (85°C), as this can degrade the wax and affect the quality of the candle.
- Scent: If you want a stronger scent, beeswax naturally has a mild, sweet fragrance, so you may not need to add much fragrance oil.
Making beeswax candles is a wonderful way to create personalized, eco-friendly gifts or add a warm, natural ambiance to your home. Enjoy your candles!


